FPGA Install: Unterschied zwischen den Versionen
Schomi (Diskussion | Beiträge) |
Schomi (Diskussion | Beiträge) |
||
| Zeile 2: | Zeile 2: | ||
[[Kategorie:Index]] | [[Kategorie:Index]] | ||
[[Kategorie:Plugins]] | [[Kategorie:Plugins]] | ||
| + | {|width="30%" | ||
| + | |[[Bild:deutsch.png]] - [[FPGA Installation]] | ||
| + | |[[Bild:english.png]] - [[FPGA Install]] | ||
| + | |} | ||
| + | |||
| + | ---- | ||
==FPGA Upgrade== | ==FPGA Upgrade== | ||
From time to time we need an [http://en.m.wikipedia.org/wiki/Field_Programmable_Gate_Array FPGA Upgrade]. | From time to time we need an [http://en.m.wikipedia.org/wiki/Field_Programmable_Gate_Array FPGA Upgrade]. | ||
Version vom 1. September 2012, 09:26 Uhr
FPGA Upgrade
From time to time we need an FPGA Upgrade.
to install it there are two ways:
USB Memory Stick
- Download the Firmware from here:
- Vu+ Uno, Vu+ Ultimo
- Transfer the download file to the USB Stick
- Plug-in the USB stick and mount it via device manager. a GUI restart is required if you don't have VTI image
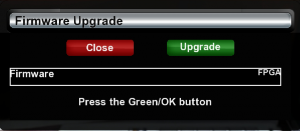
- Run the FPGA Upgrade Plugin .
- Select the file from the USB stick and run the upgrade (this may take a few minutes)
- Restart the box
Online via Internet
- Run the FPGA Upgrade Plugin.
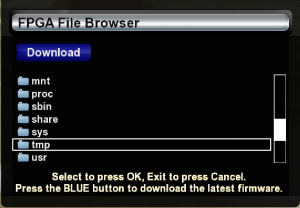
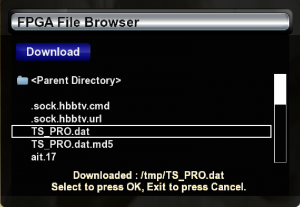
- Download the firmware file (press blue button)
- Select the downloaded file and run the upgrade (this may take a few minutes)
- Restart the box
Back to Home


